Read on to learn how to create a Windows 11 recovery USB drive and what you must do if you have to use it. The instructions below also apply to older versions of the operating system, such as Windows 10.
What Is a Windows 11 Recovery USB Drive?
Like its predecessors, Windows 11 is susceptible to startup errors that can stop it from loading. A recovery USB lets you resolve them by providing you access to the system recovery options in WinRE (Windows Recovery Environment). If the drive contains your PC’s system data, you also can reinstall Windows 11 should your attempts at troubleshooting fail. A Windows 11 recovery USB drive does not include personal files and apps. If you want the option of restoring all data on your PC in case of an operating system reinstallation, you must activate File History or take regular system image backups. Alternatively, use dedicated third-party backup software. If you want to go ahead and set up a recovery USB drive, you need an adequately-sized flash drive—16-32 GB if you want it to include system files or 1 GBif you don’t. Your recovery USB drive is also tied to your computer, so make sure to create it before your computer runs into any issues.
Create a Windows 11 Recovery USB Drive
To create a recovery USB drive, you must use a built-in Windows 11 utility called the Recovery Drive Creator. It walks you through every step of the process and automatically copies the required files at the end. You will lose all existing data on the USB flash drive you plan to use, so copy everything on it to your PC before you begin. Note: If you back up the system data on your PC to the recovery USB, a flash drive with at least 16 GB of storage should suffice. However, some Windows 11 systems may require a 32 GB drive. You will see the exact size in step five.
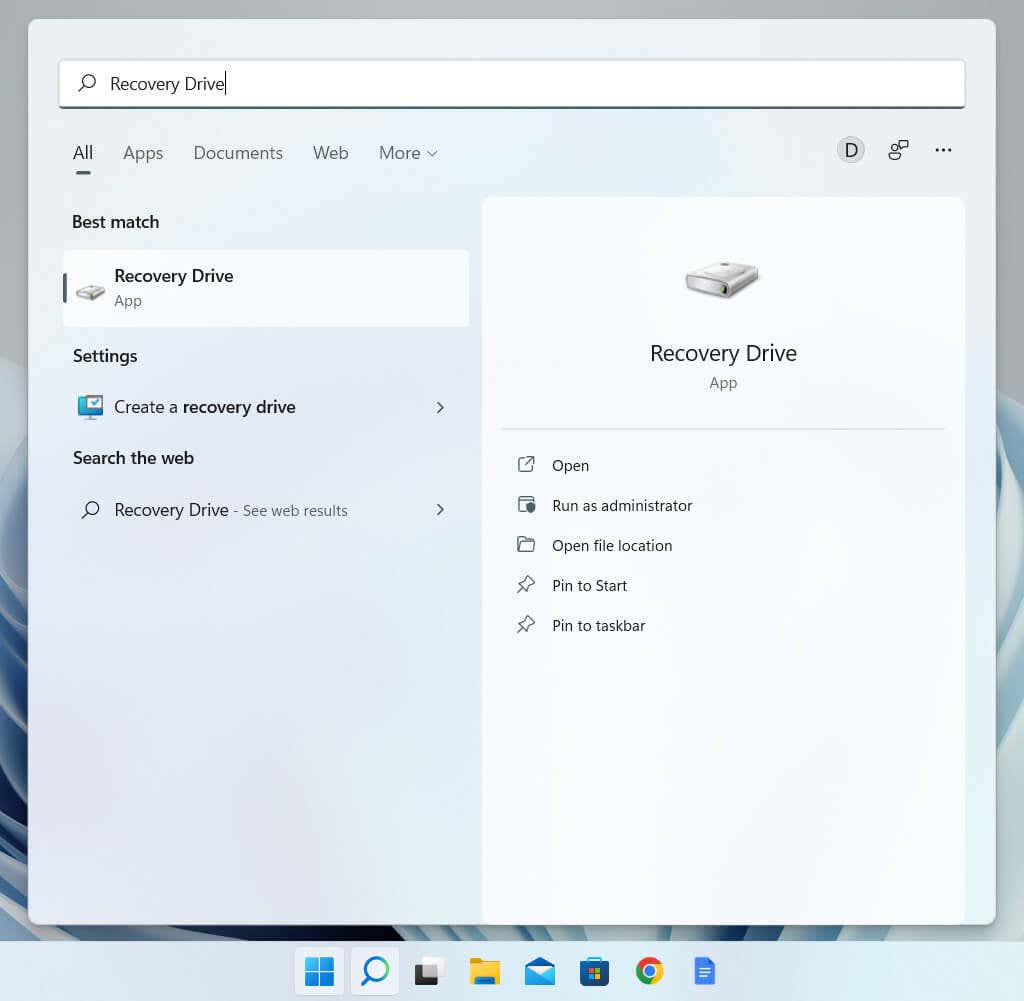
- Select the Search button on the taskbar, type Recovery Drive in the search box, and press Enter.
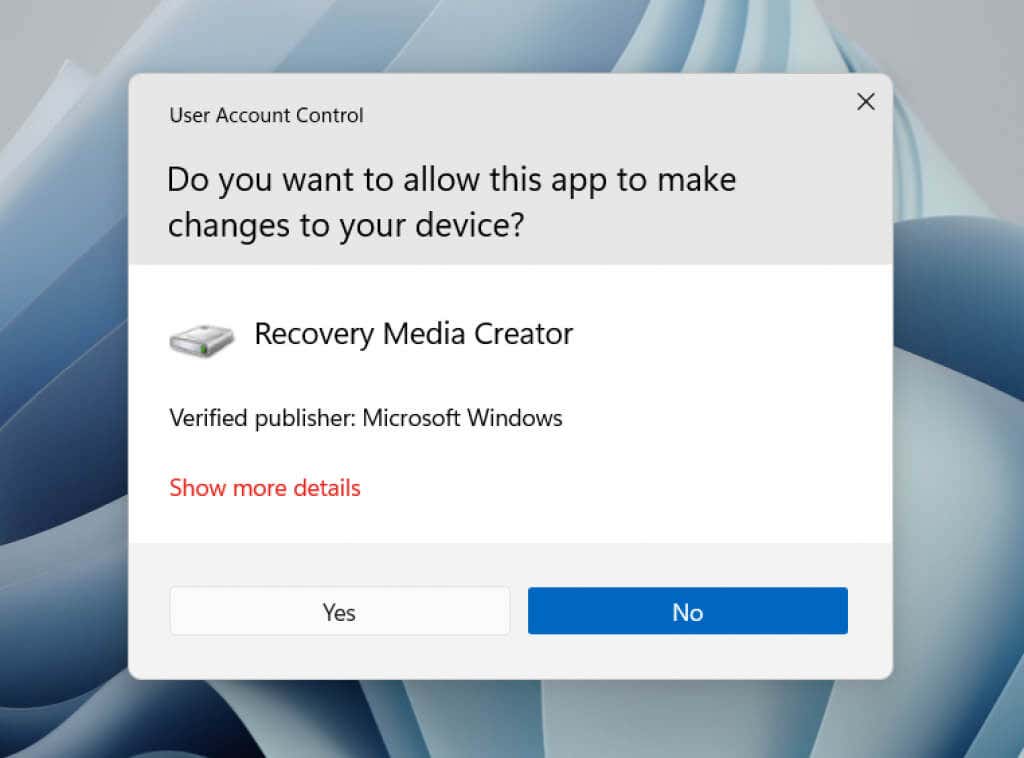
- Select Yes on the User Account Control dialog.
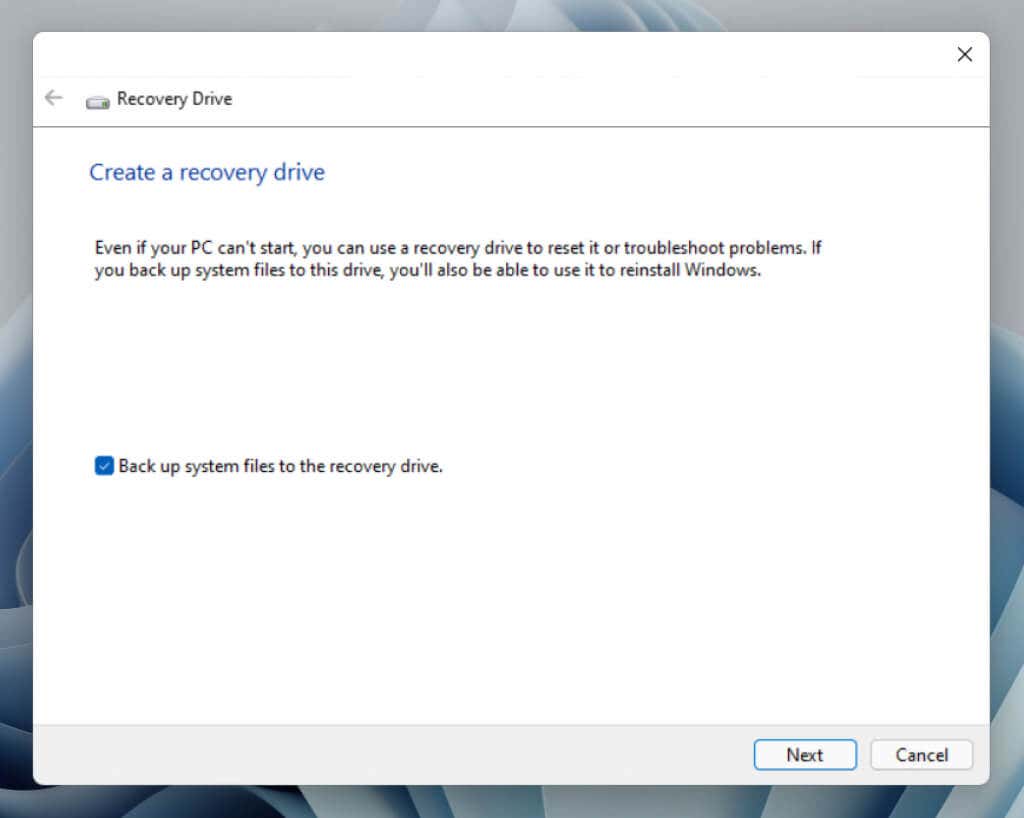
- Check the box next to Back up system files to the recovery drive if you want to include system files in the recovery drive. Then, select Next.
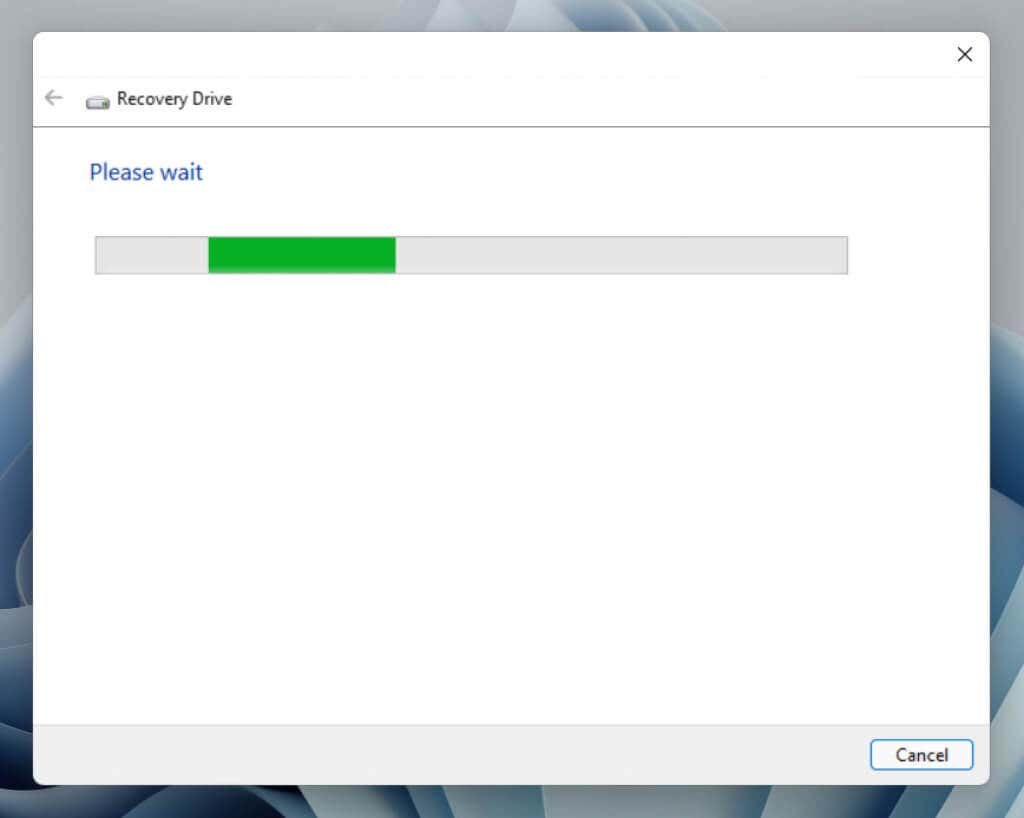
- Wait until the Recovery Drive Creator finishes preparing for the task ahead.
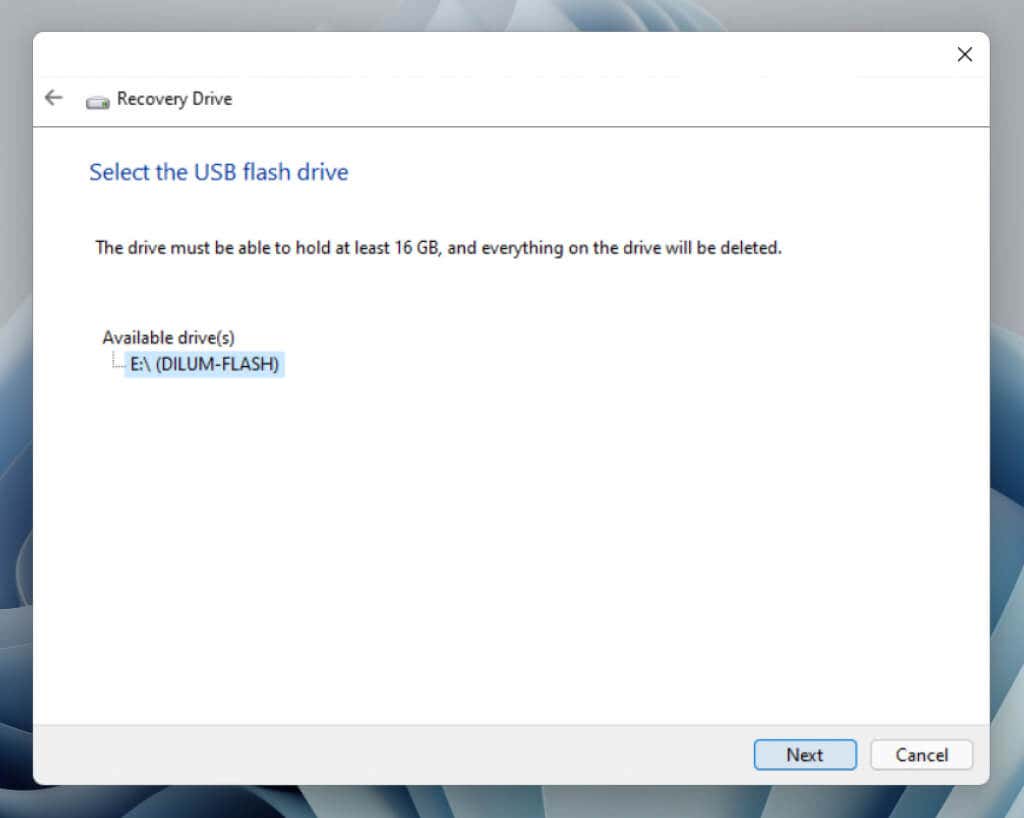
- Select your flash drive under the Available drive(s) section. Make sure your flash drive has the available space listed. If you have multiple external drives connected, pay close attention while selecting to avoid unwanted data loss.
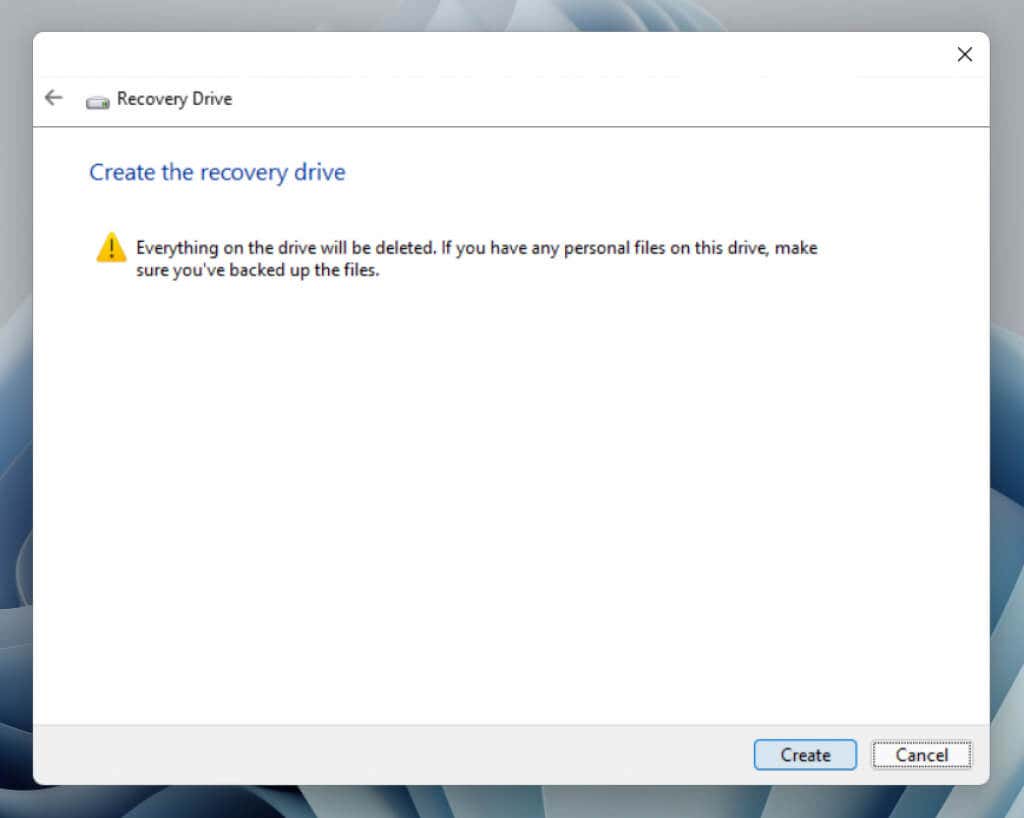
- Select Create to initiate the recovery drive creation process.
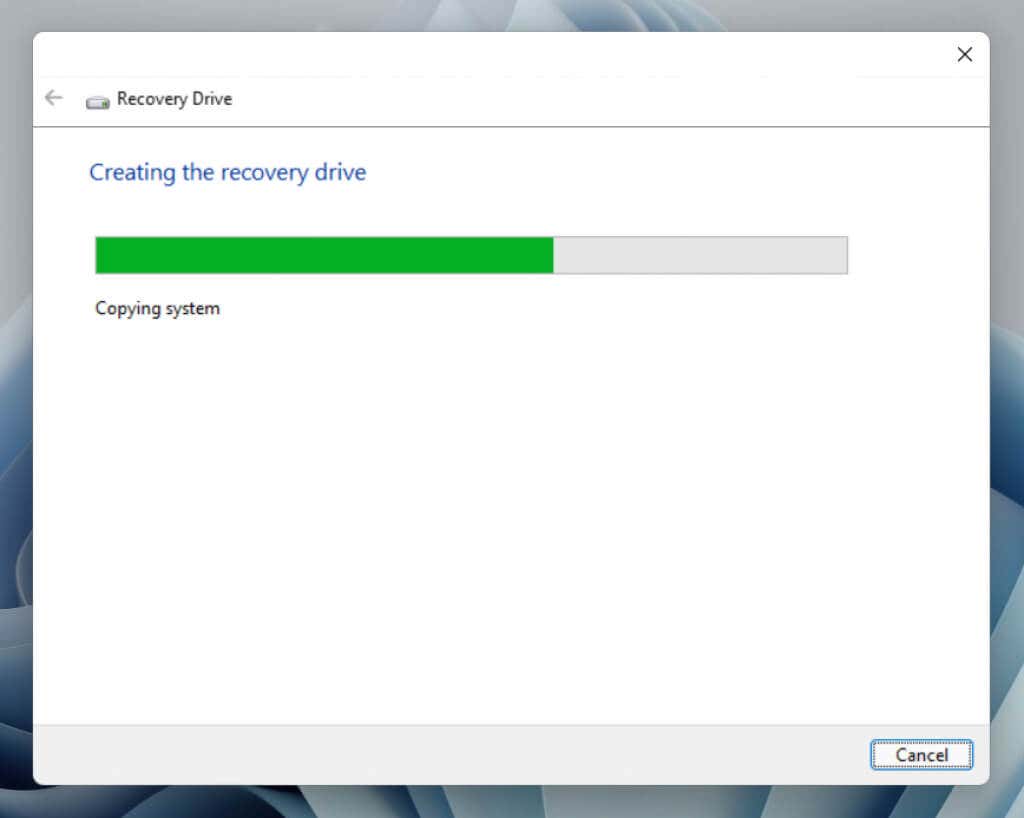
- Wait until the Recovery Drive Creator finishes creating the recovery drive. If you’re setting up the drive to include system data, the process can take up to an hour to complete. Feel free to keep working on your PC in the meantime.
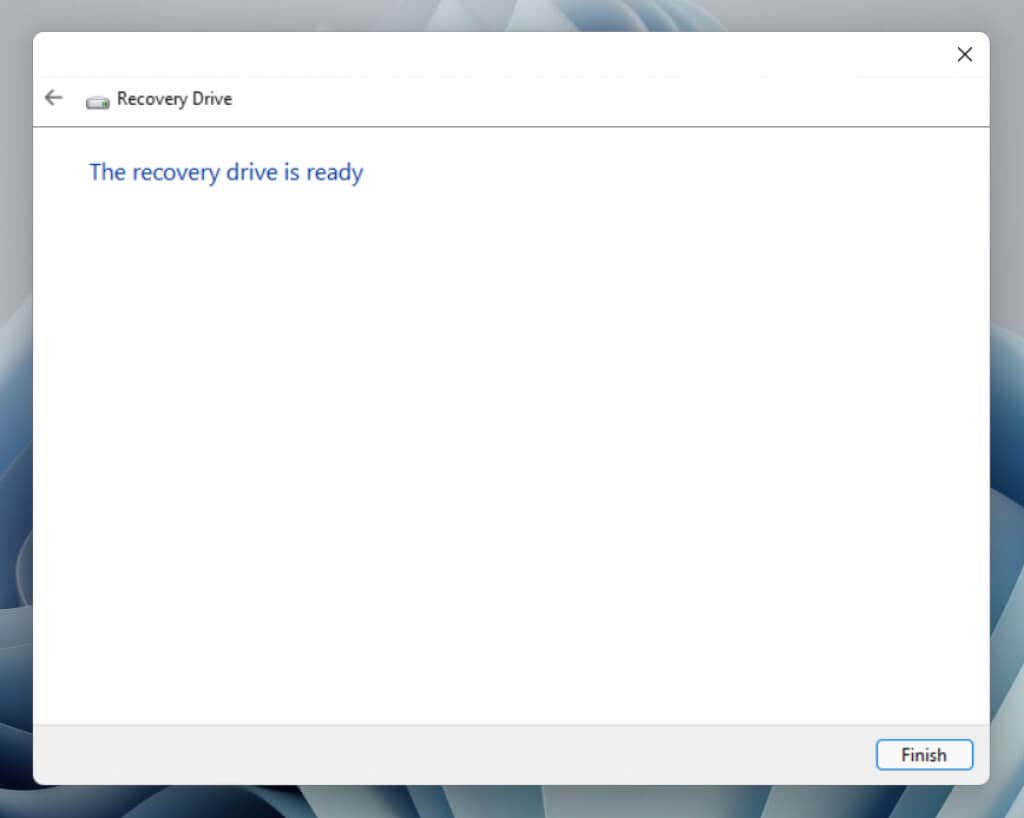
- Select Finish once the recovery drive is ready.
- Disconnect the bootable USB drive from your PC. Store it in a safe place so that you can quickly get to it in the event of an operating system failure.
Use a Windows 11 Recovery USB Drive
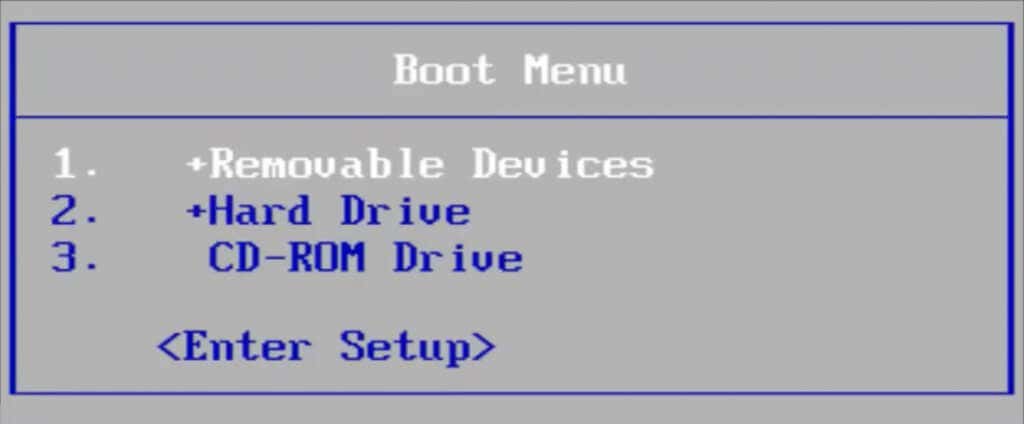
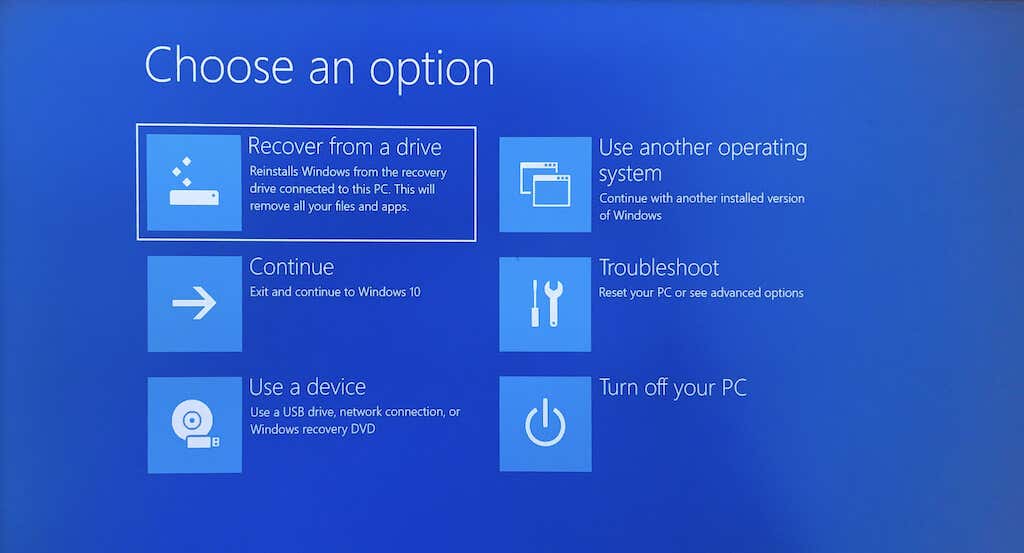
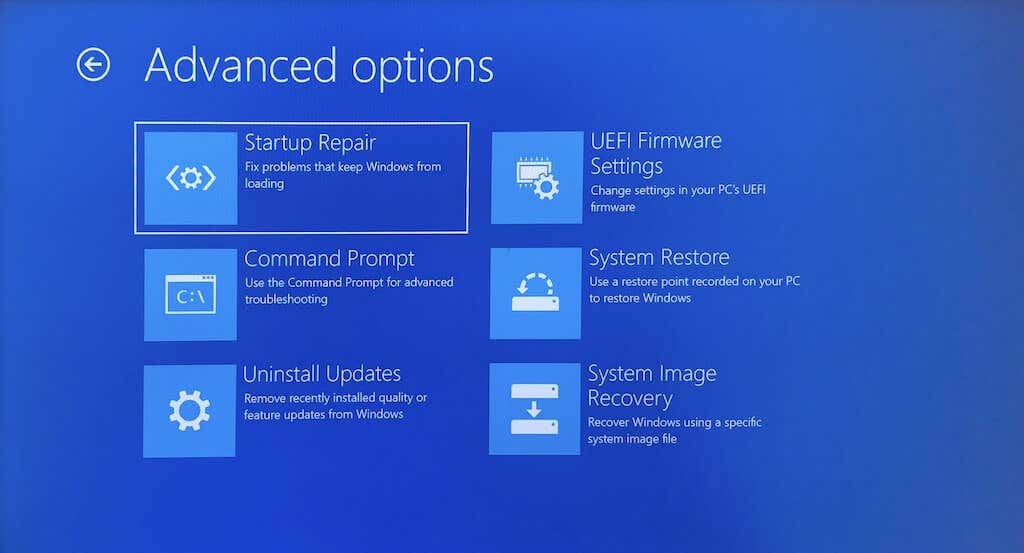
If Windows 11 repeatedly fails to load, your computer will automatically boot into its recovery partition. Compared to a recovery drive, the recovery partition offers additional troubleshooting options, such as the ability to boot Windows 11 in Safe Mode and reset the operating system while keeping your data intact. You should only use the recovery USB drive if the recovery partition is inaccessible or its options don’t work. In that case, connect the USB drive and perform a system reboot. Open the One-Time Boot Menu—press Esc or F12 during the startup process—and specify that you want to boot up from removable media instead of the hard drive or SSD. Or change the boot order via the BIOS or UEFI. Once your PC boots into the recovery drive, you must pick a keyboard layout—e.g., U.S.—to proceed. You will then come across a screen with options to Recover from a drive (available only if the drive contains your system data) and Troubleshoot your PC. Before recovering from the drive (which reinstalls Windows 11), you must select Troubleshoot and use the available system recovery tools to fix the operating system. Here’s what each advanced option does in brief:
Startup Repair: Initiate an automatic sequence of startup repairs. Try this option first and boot back into the recovery drive if it fails.Command Prompt: Perform command-line troubleshooting. For example, you can run the System File Checker and Check Disk Utility to resolve stability issues and drive errors.Uninstall Updates: Remove recent quality or feature updates to the operating system that could’ve ended up causing issues.UEFI Firmware Settings: Access the UEFI (Unified Extensible Firmware Interface) and modify your PC’s firmware.System Restore: Restore your computer to an earlier start and undo recent changes if you have System Restore active.System Image Recovery: Restore the operating system and personal data using a system image.
If none of the fixes work, head back to the previous screen and select Recover from a drive on the main screen to reinstall Windows 11. Warning: If you reinstall Windows 11 at this point, you will lose all personal data on your PC unless you have a backup.
It Pays to Be Safe
Although you may never need your USB recovery drive, it pays to be safe. File corruption, disk errors, buggy operating system updates, and other potential issues can always put the operating system at risk. For best results, copy your system files so that you can quickly reinstall the operating system if necessary. That way, you avoid having to re-download Windows or create installation media from scratch. Also, make sure to back up personal files regularly so that you get to restore them if things turn ugly.
